
Leads
How to Add a Lead
Add an inquiry, enter the client details, and plan your follow-up.
Add a lead manually for inquiries from email, Instagram, phone calls, or referrals.
Keep inquiries in Leads until the client confirms, then move them to Bookings.
Open the lead form
Check for an existing inquiry before adding a lead.
- 1.
In the left navigation, select Leads.
- 2.
Use Search and the status tabs to confirm the inquiry is not already listed.
- 3.
Select Add Lead in the upper-right corner.
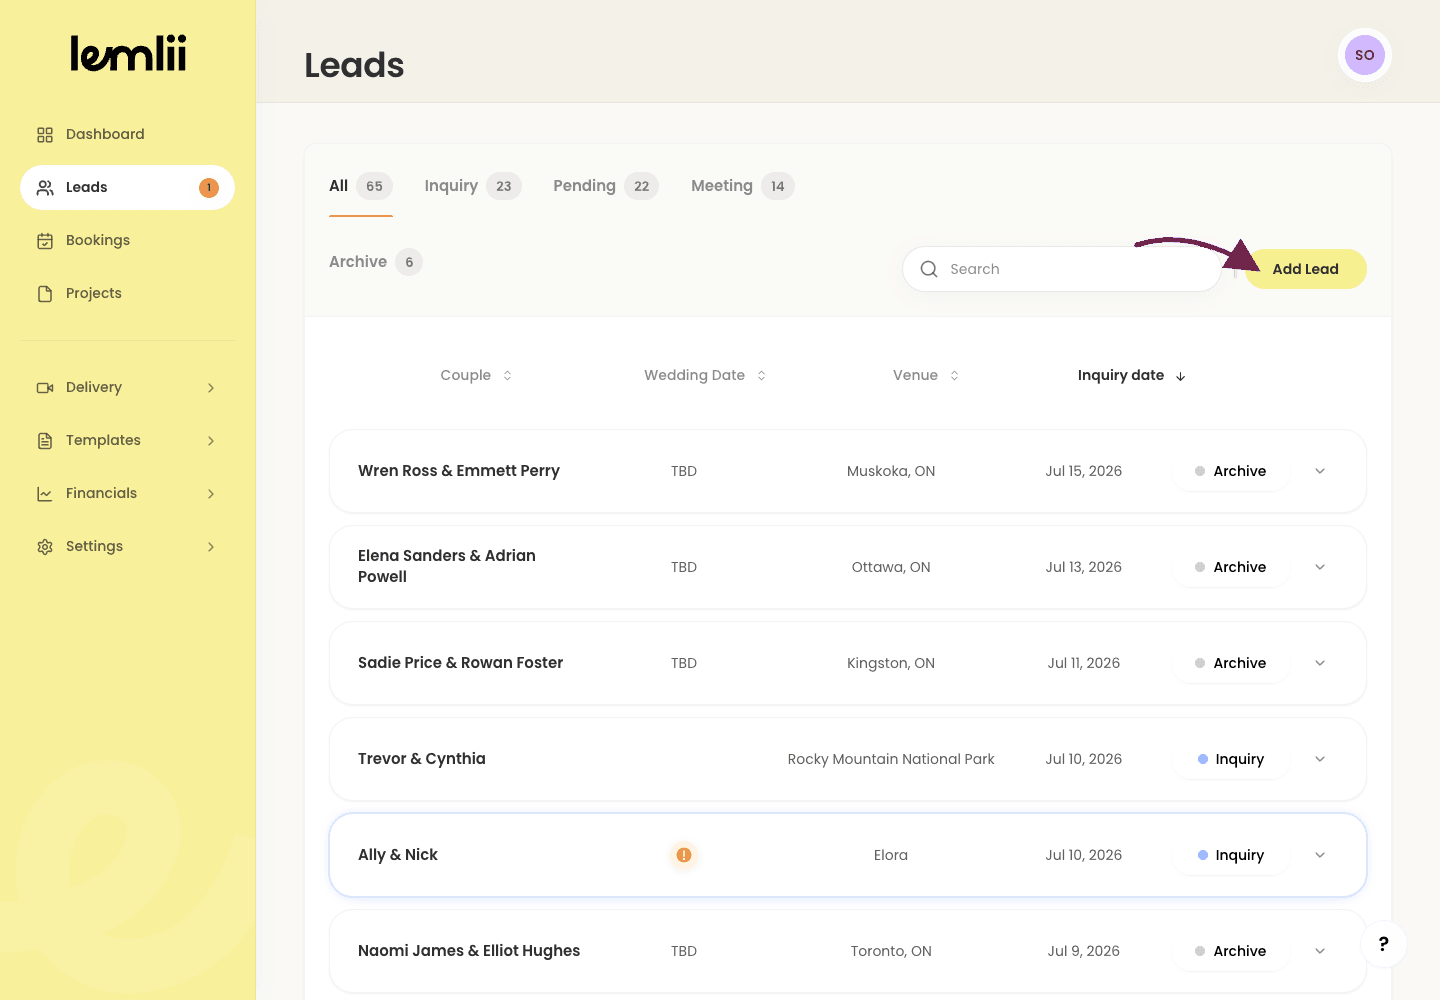
Add Lead button on the Leads page - 4.
Confirm the Add a lead form opens with Single selected.
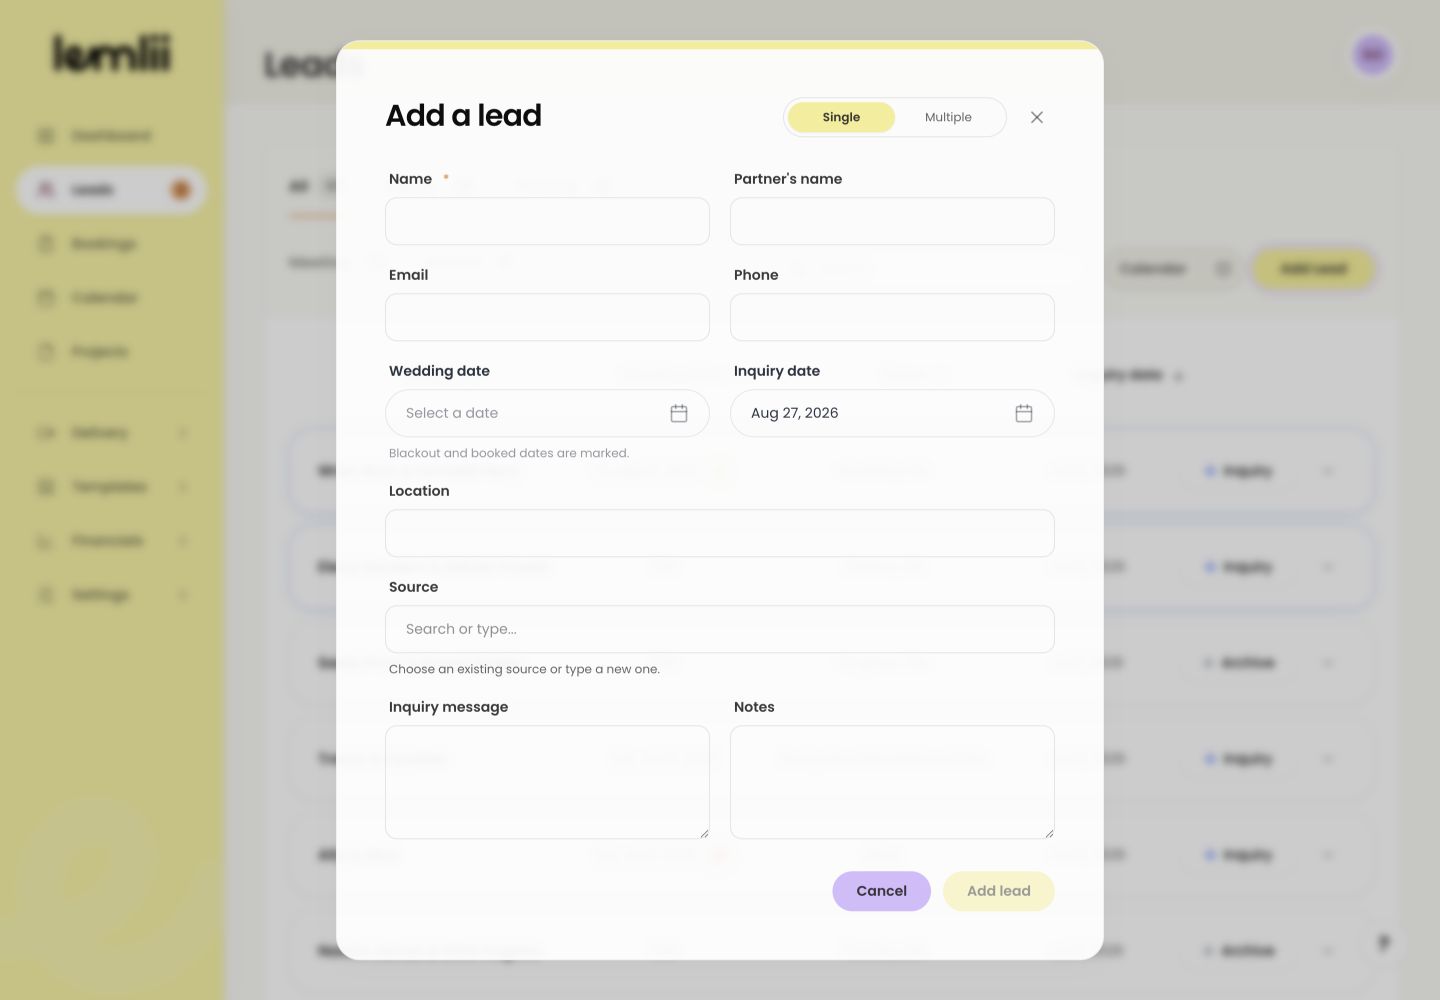
Add a lead form
- 1.
Choose how to add the lead
Choose one of these options:
- Single: add one inquiry.
- Multiple: upload a CSV, match its columns, and check the import preview.
- A couple counts as one lead.
Enter the contact and event details
Add what you know. You can fill in optional details later using Edit lead.
- Name: required primary contact name.
- Partner's name, Email, and Phone: the other contact details available for the couple.
- Wedding date and Inquiry date: when the event is planned and when the inquiry arrived.
- Location: venue, city, or the best location information currently available.
- Source: how the couple found you. Use consistent names for accurate Dashboard reports.
- Inquiry message: the client’s original request or summary of what they asked for.
- Notes: private notes.
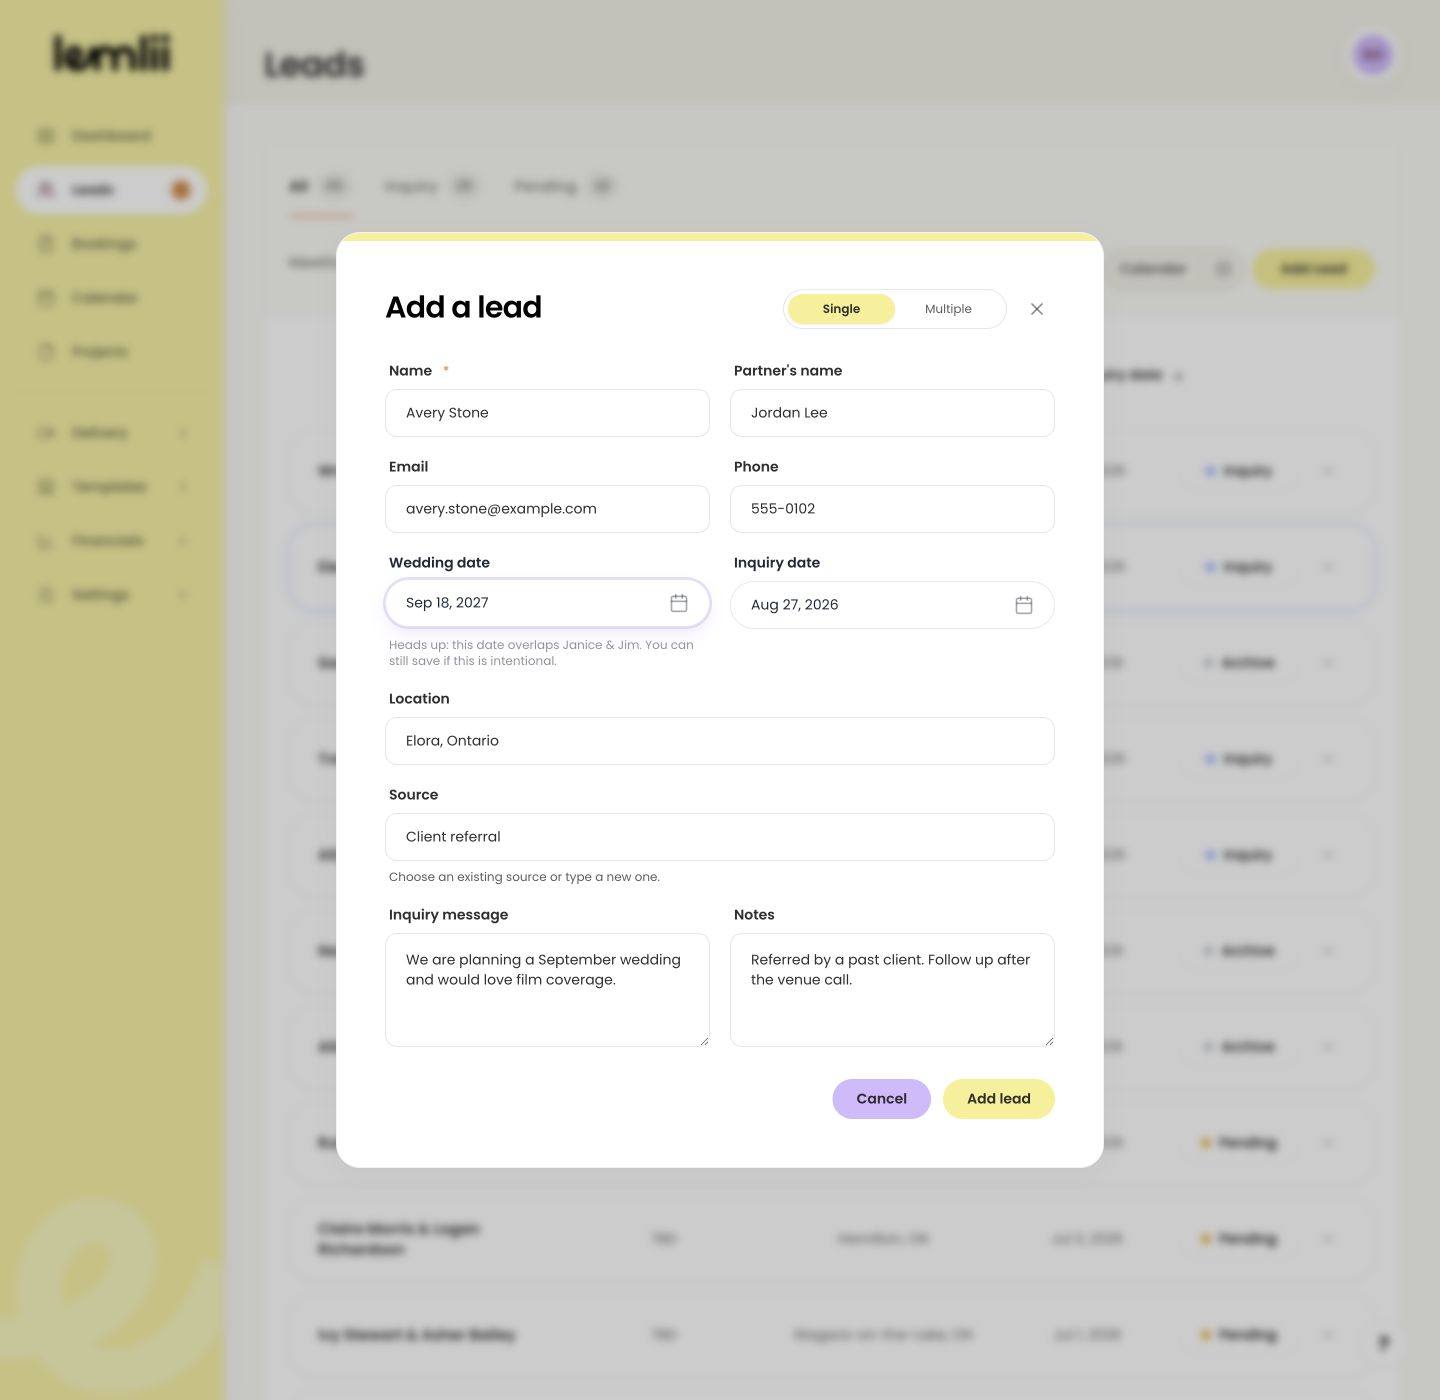
Completed lead details and date check Check availability
The wedding-date field flags bookings, blackouts, and sent proposals on or near the date. Open a warning to check whether you’re available.
- Date conflict: another item uses the same date.
- Date caution: another item is within two days.
- Inquiry message: keep the client’s words or request here.
- Notes: keep call summaries, availability considerations, package interest, or a promised follow-up here.
Save the new lead
Check the name and details, then save the lead.
- 1.
Select Add lead.
- 2.
Return to the Leads table and locate the new row.
- 3.
Confirm the client name, wedding date when supplied, and Inquiry status.
- 4.
If the row is not visible, clear Search and check the active status tab before adding it again.
- 1.
Continue from the lead profile
Open the lead to follow up:
- Edit lead: correct or add client and event information.
- Notes: add private notes. They save when you pause or leave the field.
- Choose template: choose a reply.
- Create Proposal: begin pricing when the inquiry is ready.
- Move to bookings: turn a confirmed lead into a booking.
- Status: keep the lead in the stage that matches the current conversation.
Follow up with the lead
Use How to Manage Lead Statuses as the conversation progresses. When the client confirms, follow How to Move a Lead Into a Booking so the inquiry stays connected to the booking.
Notes
- Use test contact details if you’re trying this out.
- Adding a lead does not send a message to the client. Review and send any follow-up separately.
- Date conflict means the same date is already in use. Date caution flags work within two days; open the warning to see whether it is a wedding booking, job booking, blackout, or sent proposal.
- Use Multiple only for a prepared CSV import; follow Importing or Adding Your First Leads and Bookings before importing a larger list.