
Getting Started
How to Set Up Your Lemlii Workspace
Set up your business details, branding, payments, and templates.
Start here to set up your Lemlii account.
Add your business details first, then set up payments and templates before sending proposals.
Open your Lemlii workspace
Sign in to Lemlii.
The left navigation shows the main areas: Dashboard, Leads, Bookings, Projects, Delivery, Templates, Financials, and Settings.
Select the Lemlii logo or Dashboard to return to the dashboard.
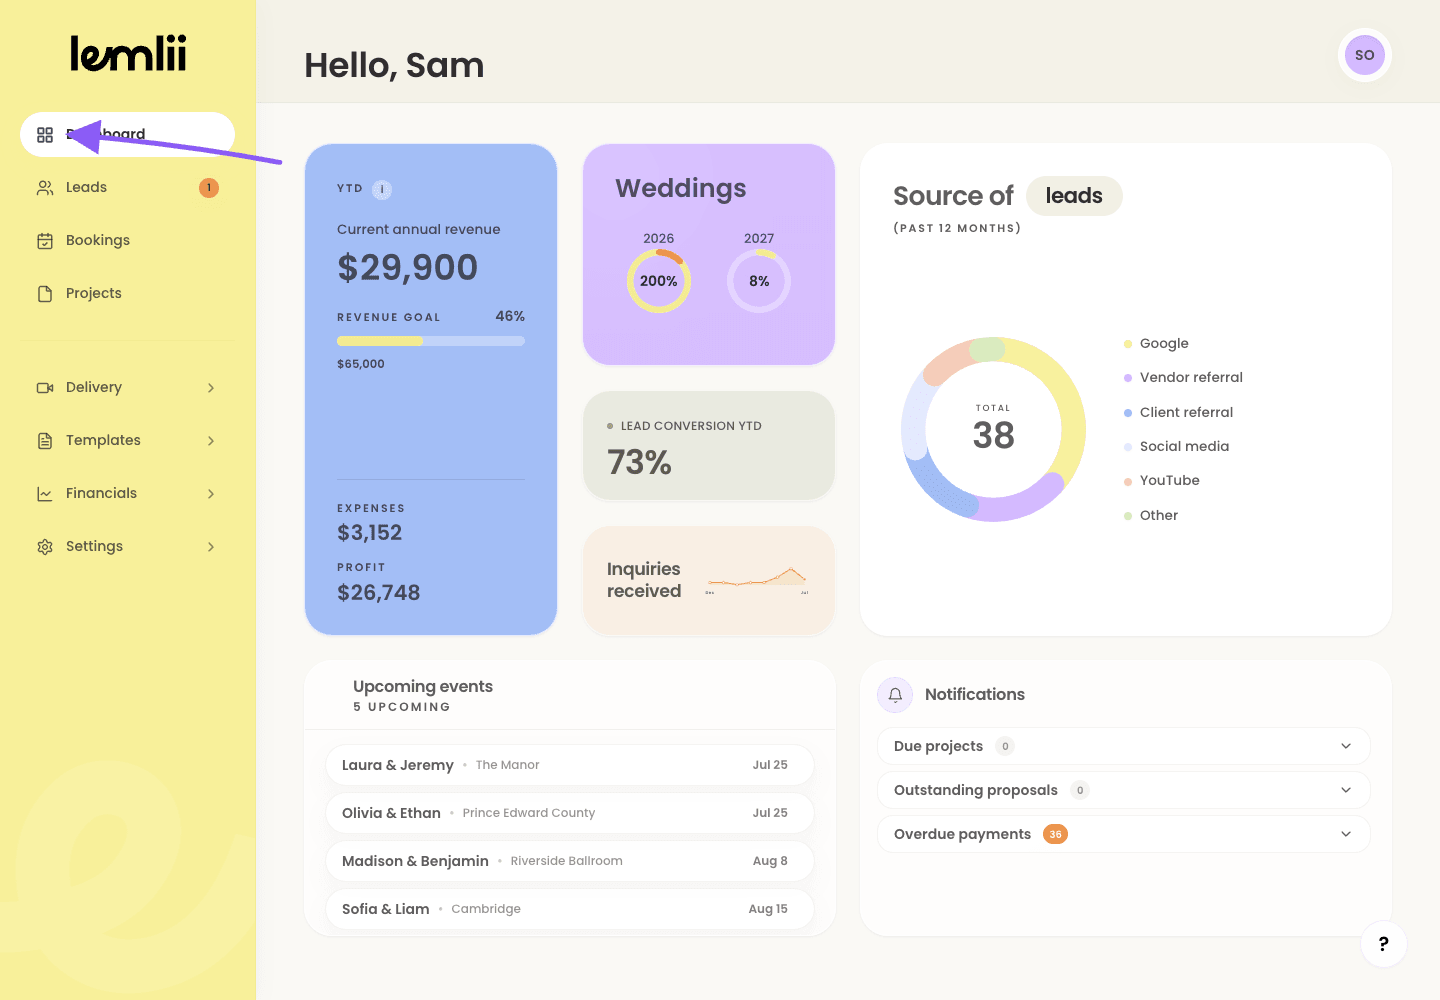
Main workspace navigation Review the Dashboard overview
Open Dashboard and review the overview cards.
The Dashboard shows revenue, wedding goals, lead conversion, inquiry sources, upcoming events, and overdue payments.
These figures update as you add leads, bookings, invoices, and projects.
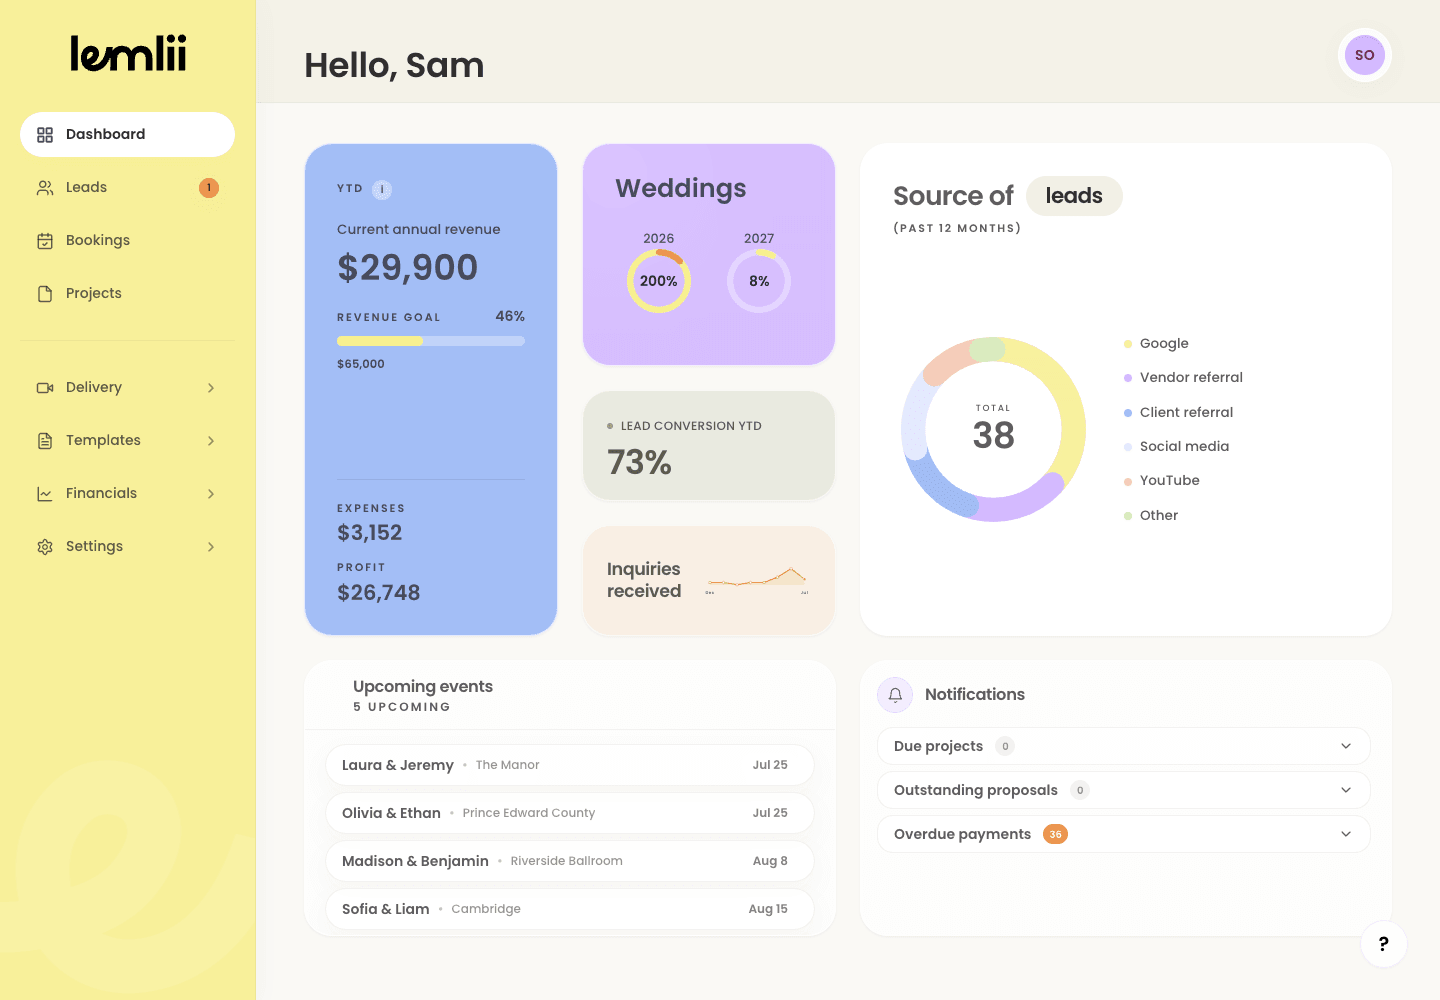
Dashboard overview cards Confirm your profile details
Go to Settings, then Account.
Review your first name, last name, and account email.
If you change your email, confirm it using the message sent to your inbox.
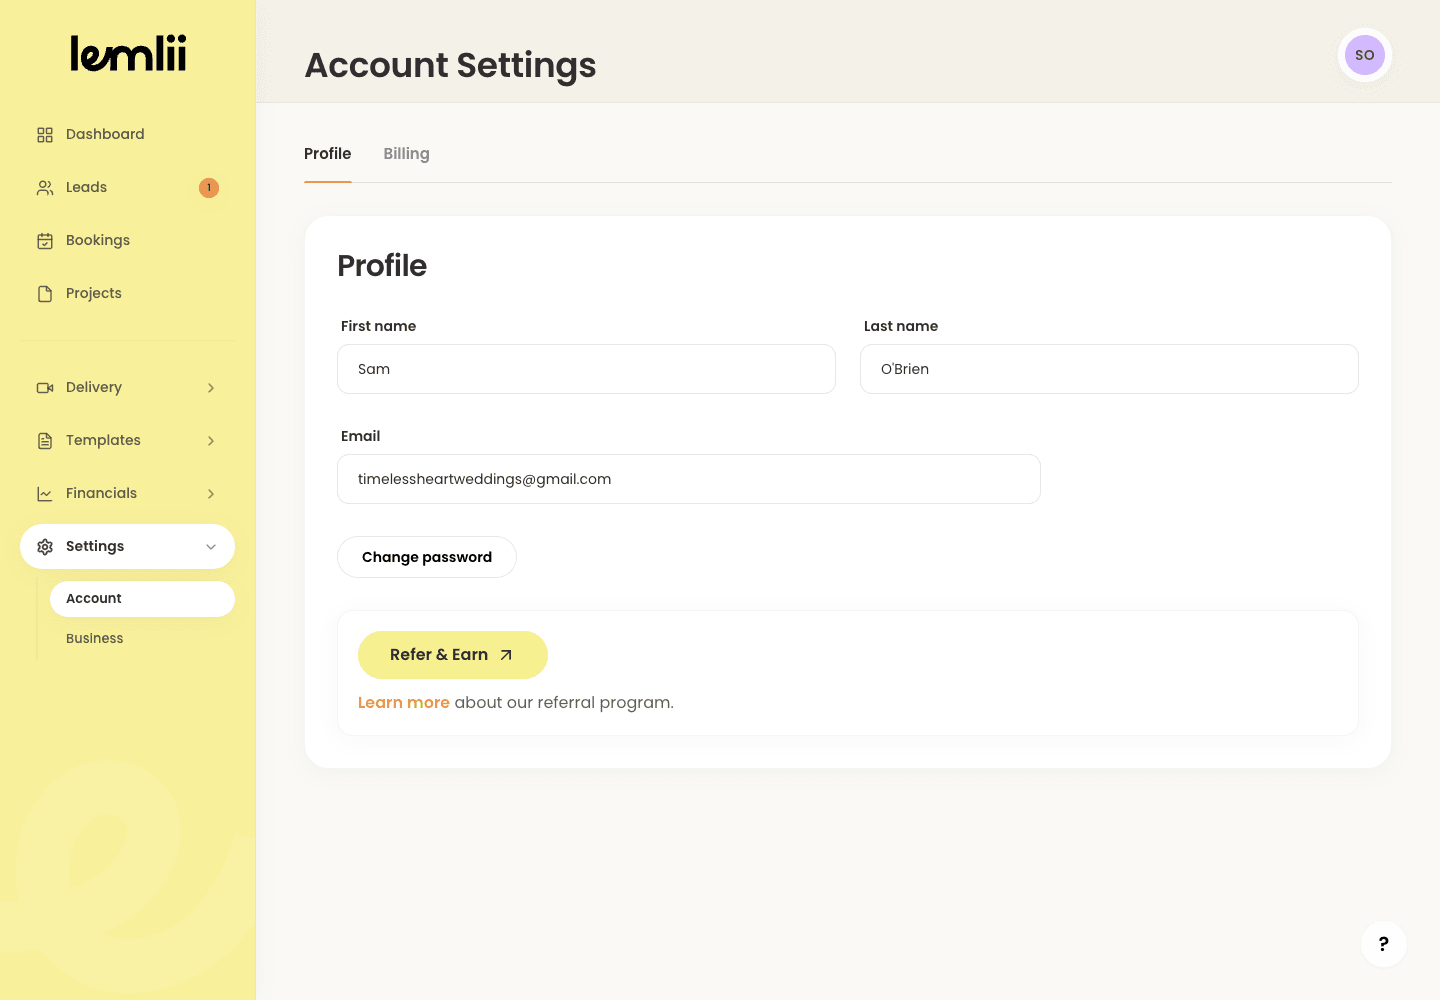
Account profile settings Add your business details
Go to Settings, then Business.
Confirm your company name, company email, phone number, address, tax information, and business goals.
Check these details carefully—they can appear on proposals, contracts, invoices, and pages your clients see.
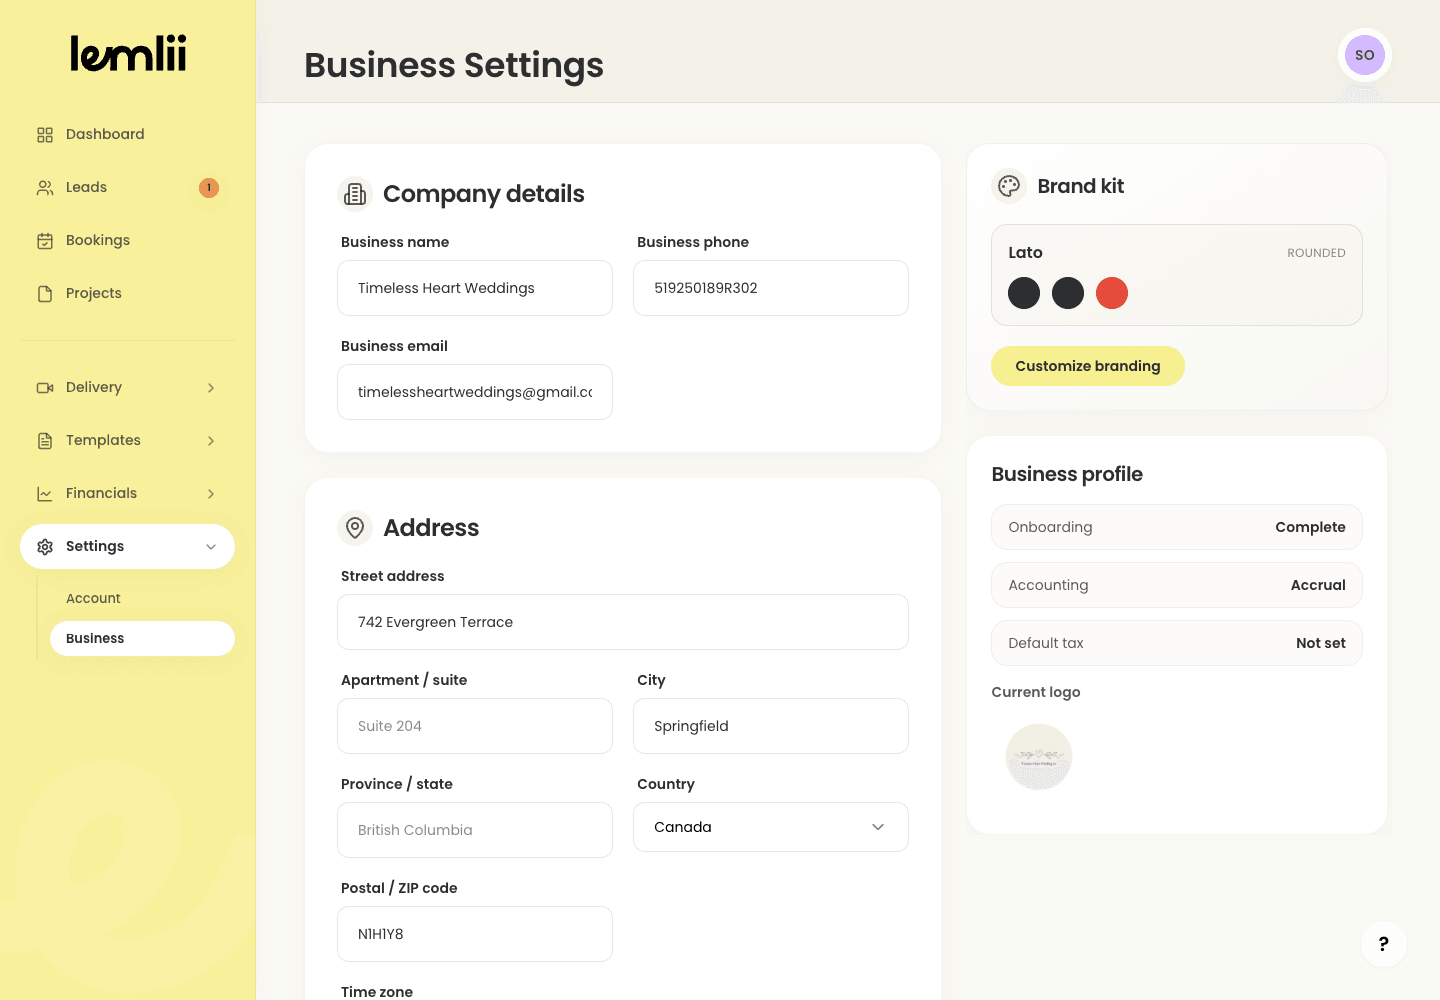
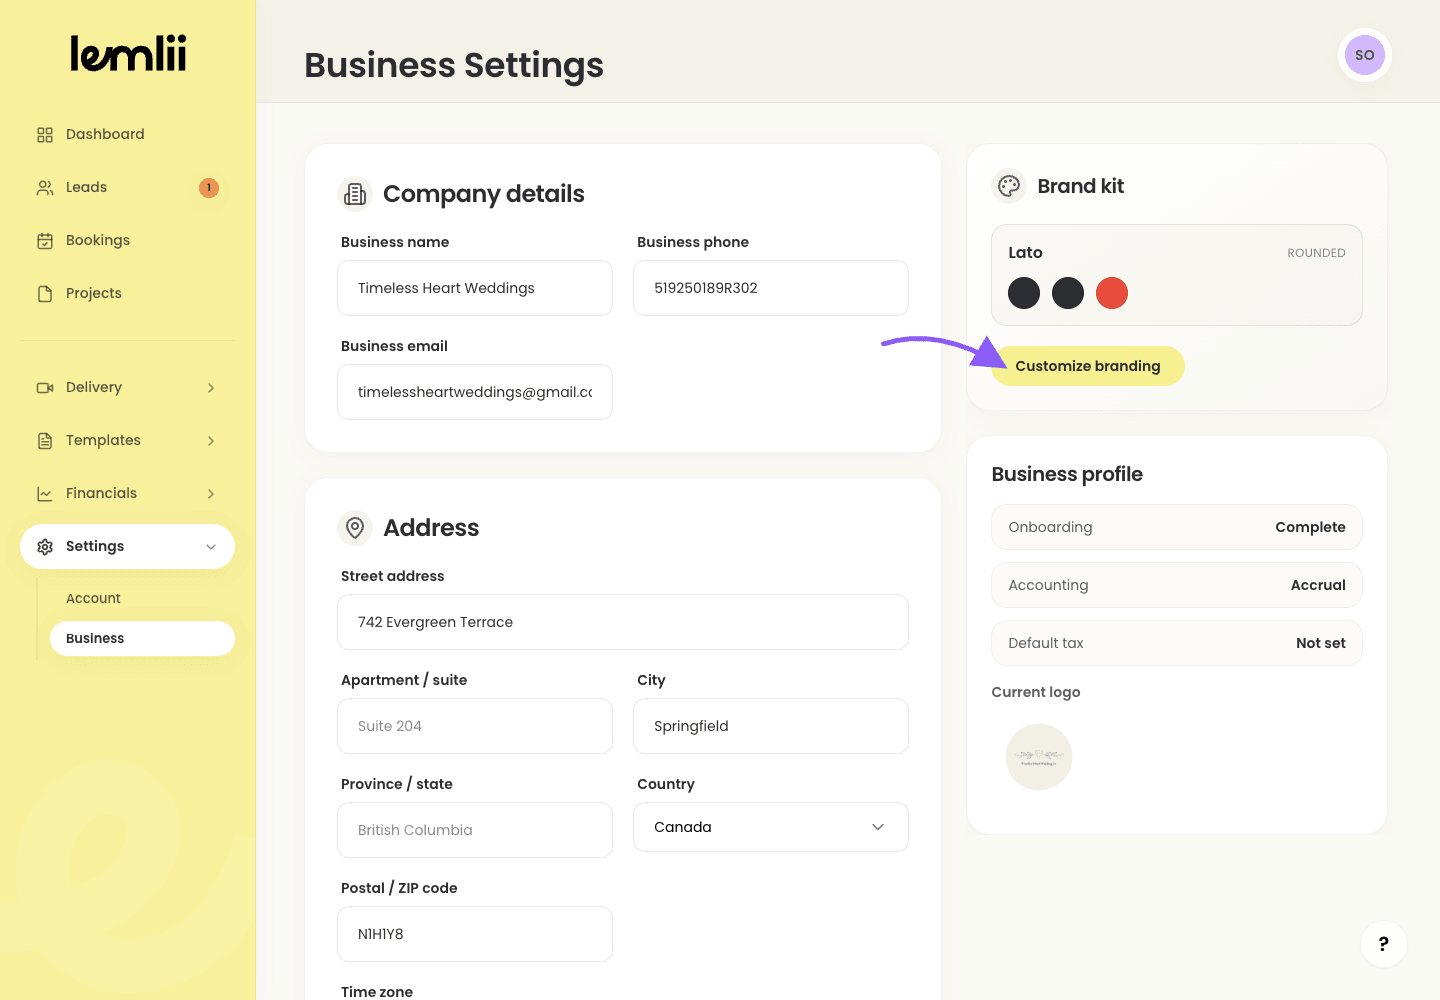
Business company details Customize your branding
Open the branding section in Business Settings.
Click Customize branding to choose your logo, colors, and fonts.
Preview how your branding looks on client pages.
Branding customization Set your payment defaults
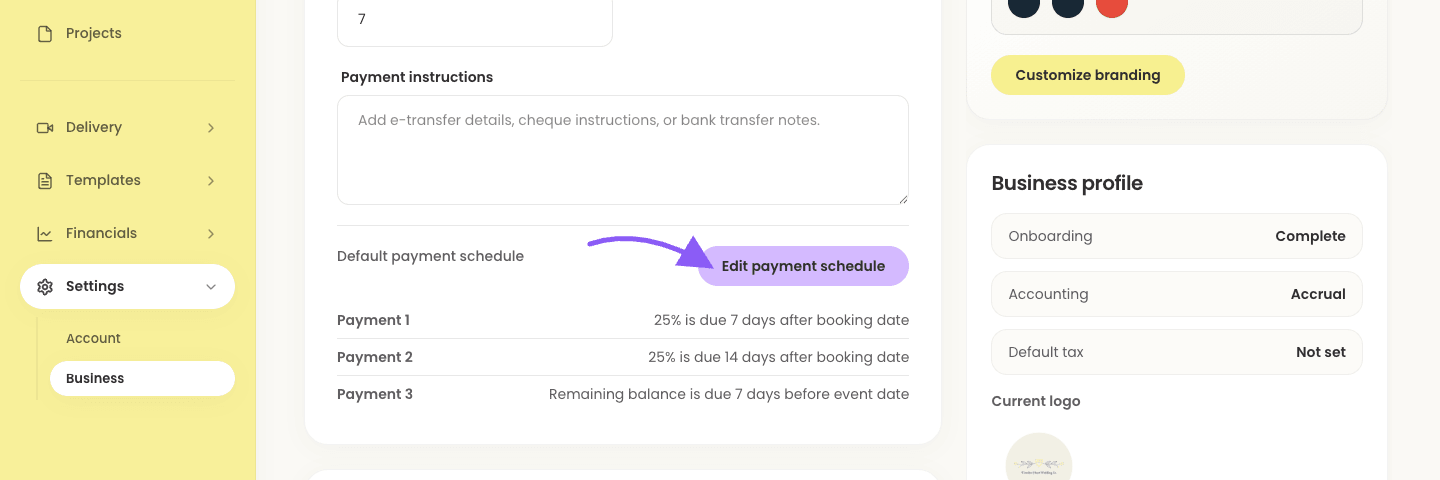
In Business Settings, review invoice due days, tax percentage, payment instructions, proposal expiry timing, and the proposal payment schedule.
Click Edit payment schedule to set the default amounts and due dates for new proposals.
If your account accepts online payments, connect Stripe from the Stripe connection section.
Payment schedule settings Prepare your templates
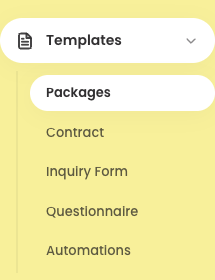
Open Templates and review Packages, Contract, Inquiry Form, Questionnaire, and Automations.
Start with package templates and your contract template if you plan to send proposals from Lemlii.
Then review your inquiry form and questionnaire templates so leads and booked clients receive the right questions.
Expanded Templates navigation Add or import your first work
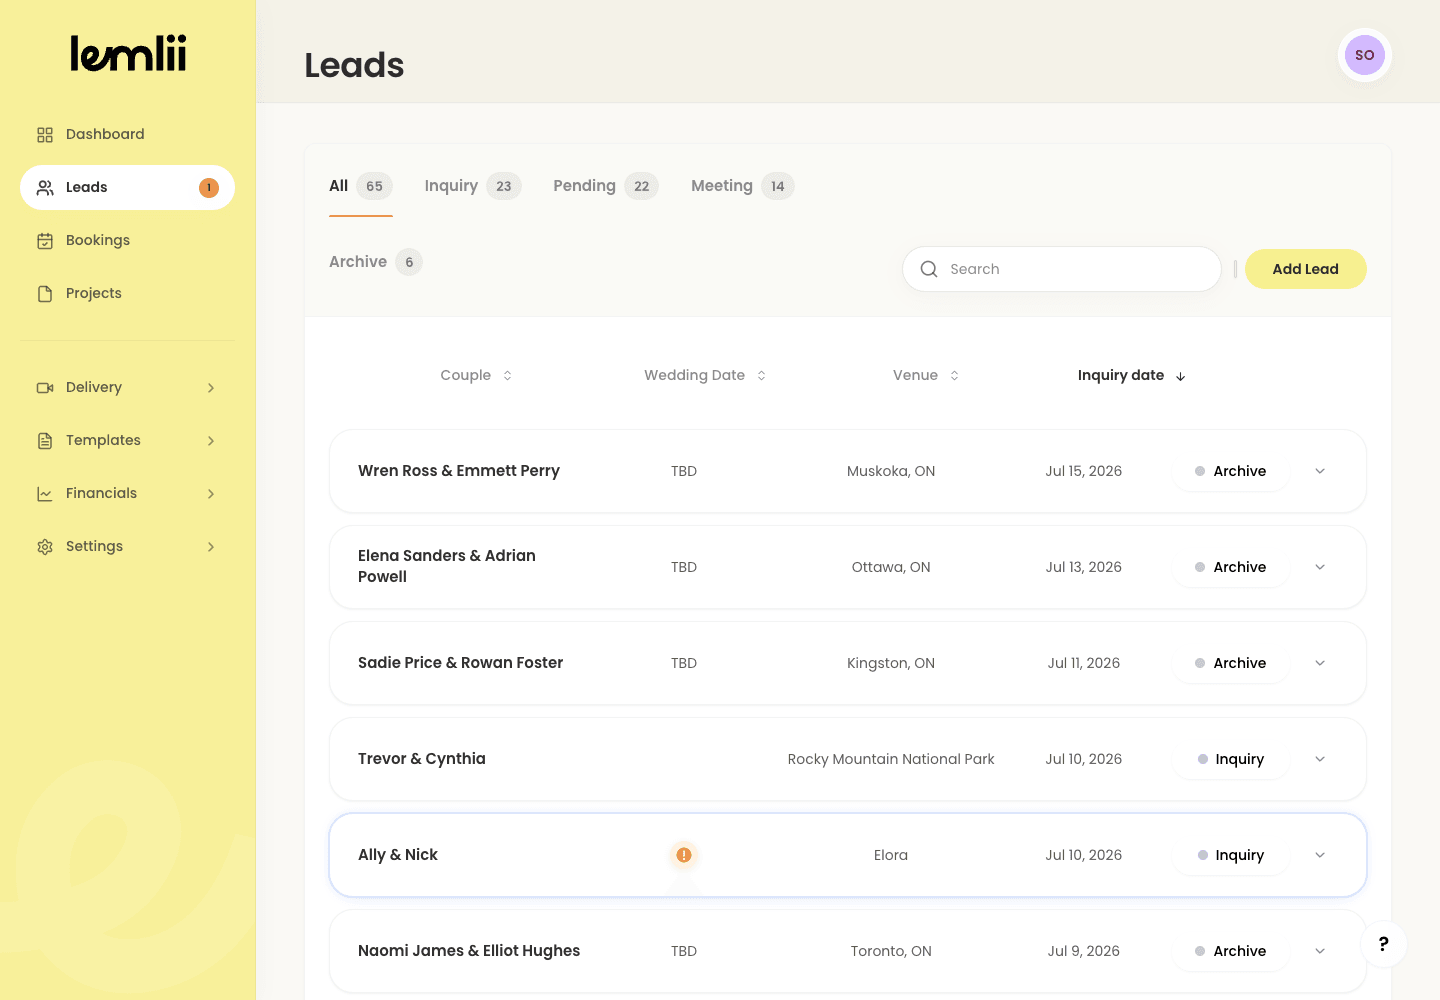
Use Leads for active inquiries and Bookings for confirmed work.
Add dates, contact details, packages, and payment information as you go.
Once bookings have dates, Projects can show editing work moving through Backlog, Working on it, Sent, and Downloaded.
First leads and bookings