
Bookings
How to Add Blackout Dates
Save a one-time or repeating blackout so unavailable dates appear in date warnings.
Blackouts mark dates when you are unavailable. They appear in lead, booking, and proposal date warnings.
Open the blackout form
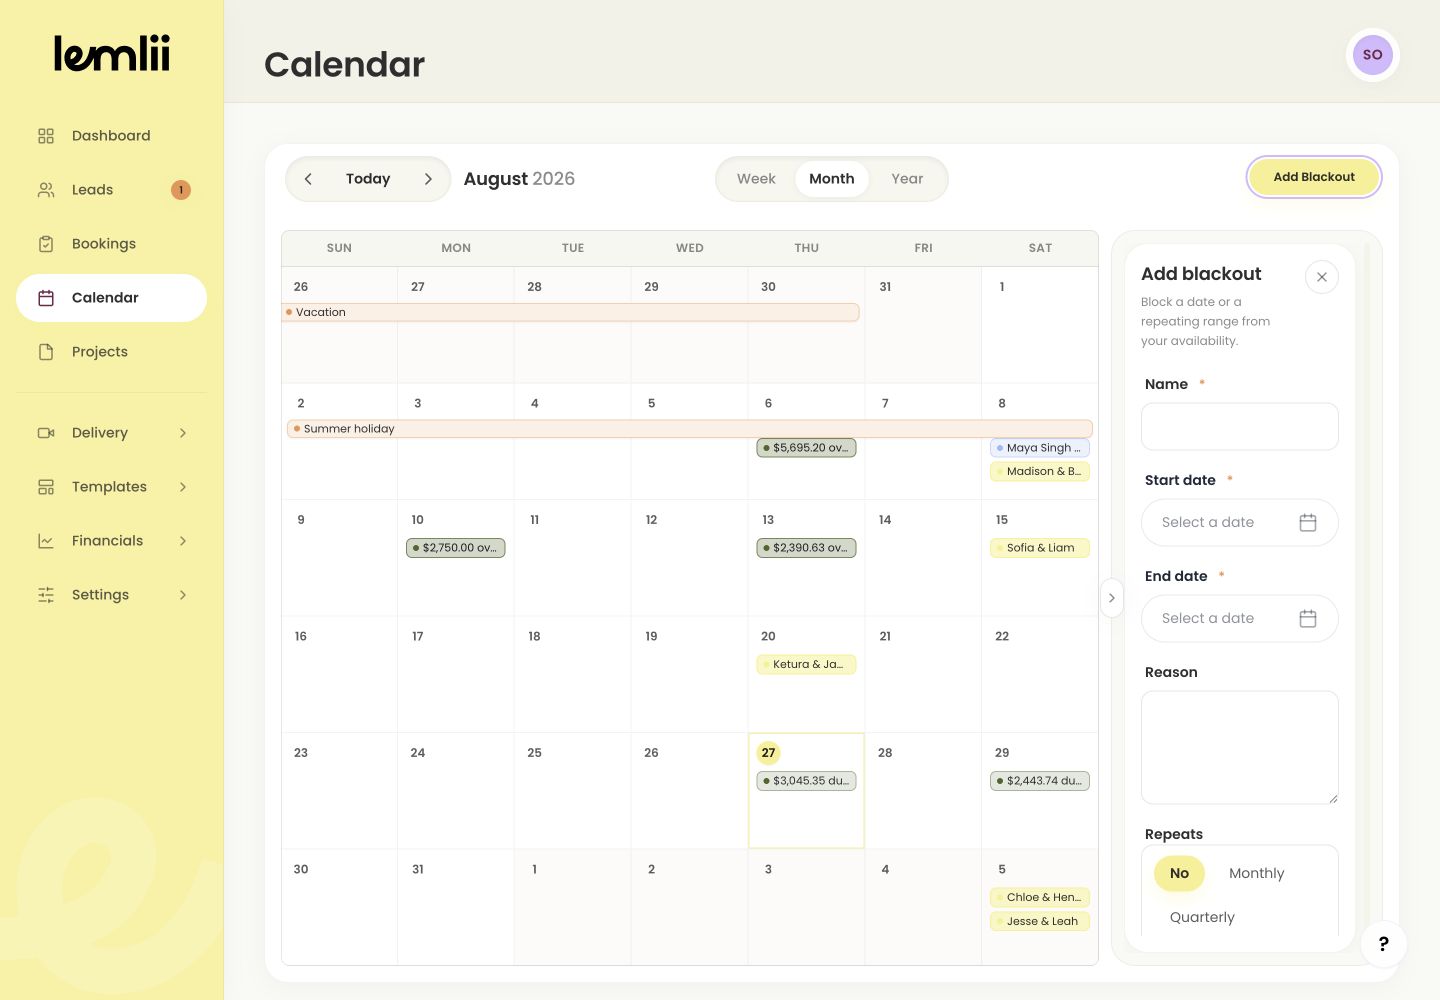
Manage blackouts in Calendar:
- 1.
Select Calendar in the main navigation.
- 2.
Select Add Blackout.
Calendar Add Blackout entry point
- 1.
Describe the unavailable period
Enter a name, Start date, and End date. The end date must be on or after the start. Add a Reason if needed.
Create a one-time blackout
Choose No under Repeats for a one-time trip, event, or closure.
Create a repeating blackout
Choose Monthly, Quarterly, or Yearly. Set Ends (optional) to stop on a date, or leave it blank to keep repeating.
Save the blackout
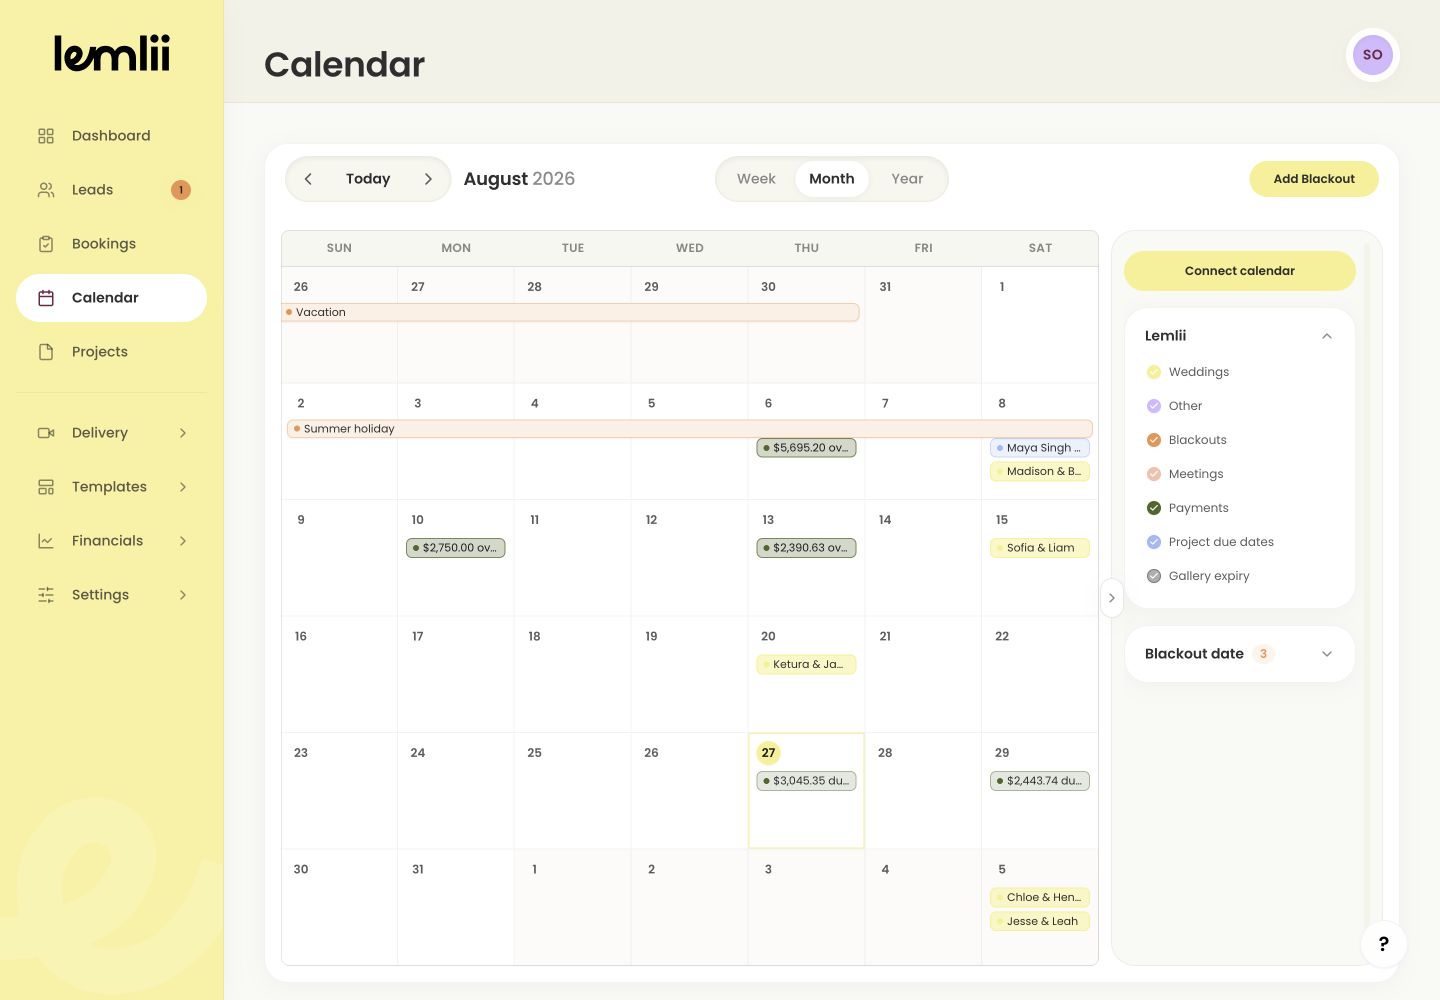
Select Create blackout and check the dates on Calendar, including repeat dates if you added them.
Saved blackout on Calendar Edit the warning behaviour later
Open a blackout to edit its name, dates, reason, or repeat settings. Turn off Show availability warning to keep it on Calendar without flagging date conflicts.
Notes
- Start and end dates are required, and the end date cannot be before the start date.
- Blackouts warn users about availability; they do not cancel or modify an existing booking.