
Templates
How to Set Up Your Contract Template
Set the contract design, payment schedule, wording, and signing confirmation for your proposals.
Set up your proposal contract in Templates > Contract.
Select a section in the preview or the outline on the right to edit it.
Set the header visuals
- 1.
Choose Header visuals, or select the header area in the preview.
- 2.
Choose the Header logo choice.
- 3.
If needed, upload a Header background image smaller than 5 MB.
- 4.
Select Save and check the updated header in the preview.
- 1.
Build the default payment schedule
Set how the proposal total is split into payments. The final row is the remaining balance.
- 1.
Choose Payment schedule, or select Edit payment schedule in the preview.
- 2.
Set the number of payments.
- 3.
Choose how each payment is calculated and when it is due.
- 4.
Confirm that percentage-based rows do not total more than 100%.
- 5.
Select Save.
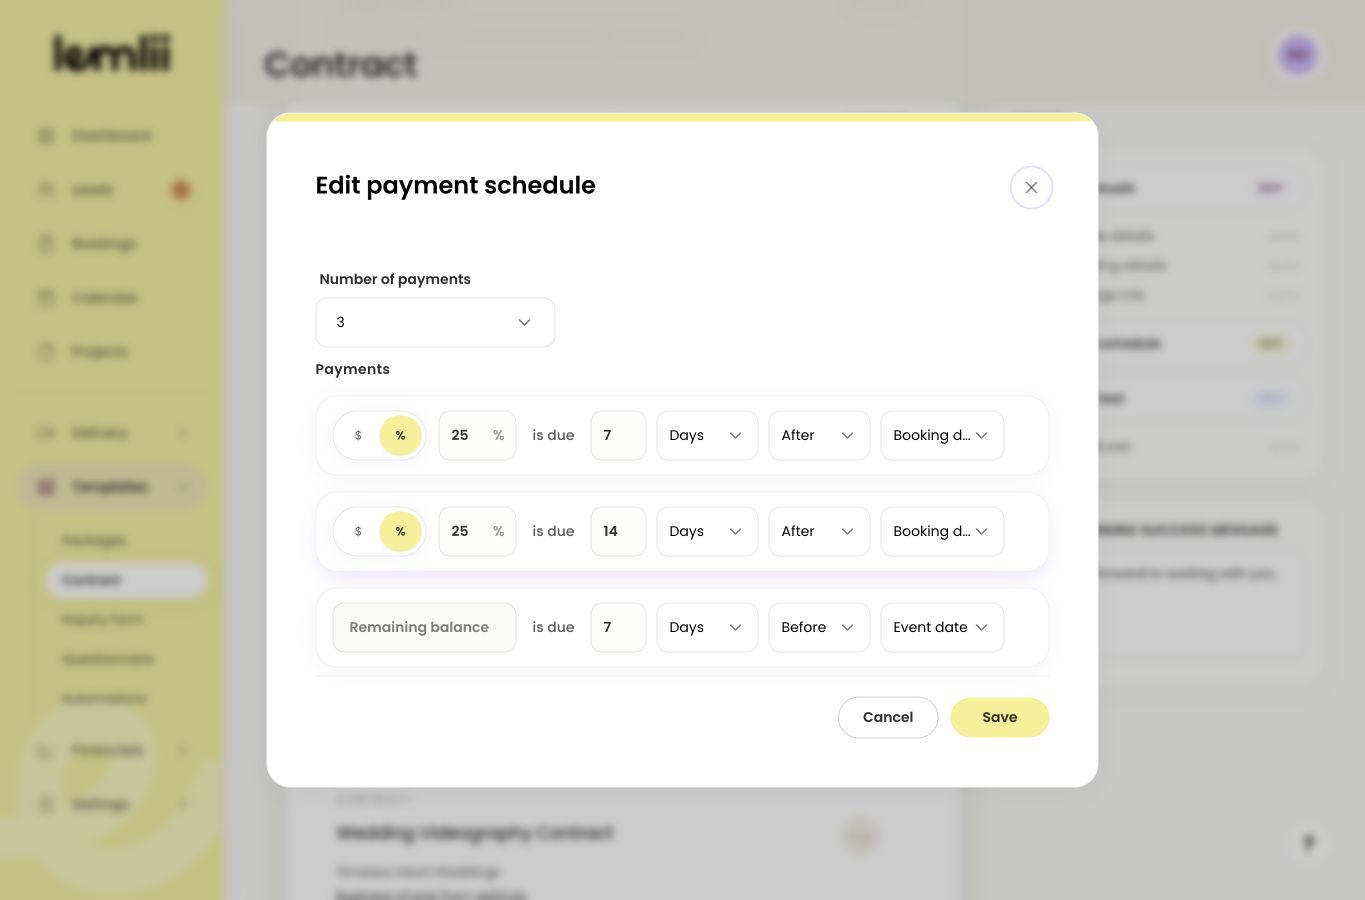
Contract payment schedule editor
- 1.
Choose the contract source and wording
Open Contract text or Contract source, enter a Template label, and choose your starting contract.
- 1.
Review the complete contract in the editor.
- 2.
Make the required wording changes.
- 3.
Select Save.
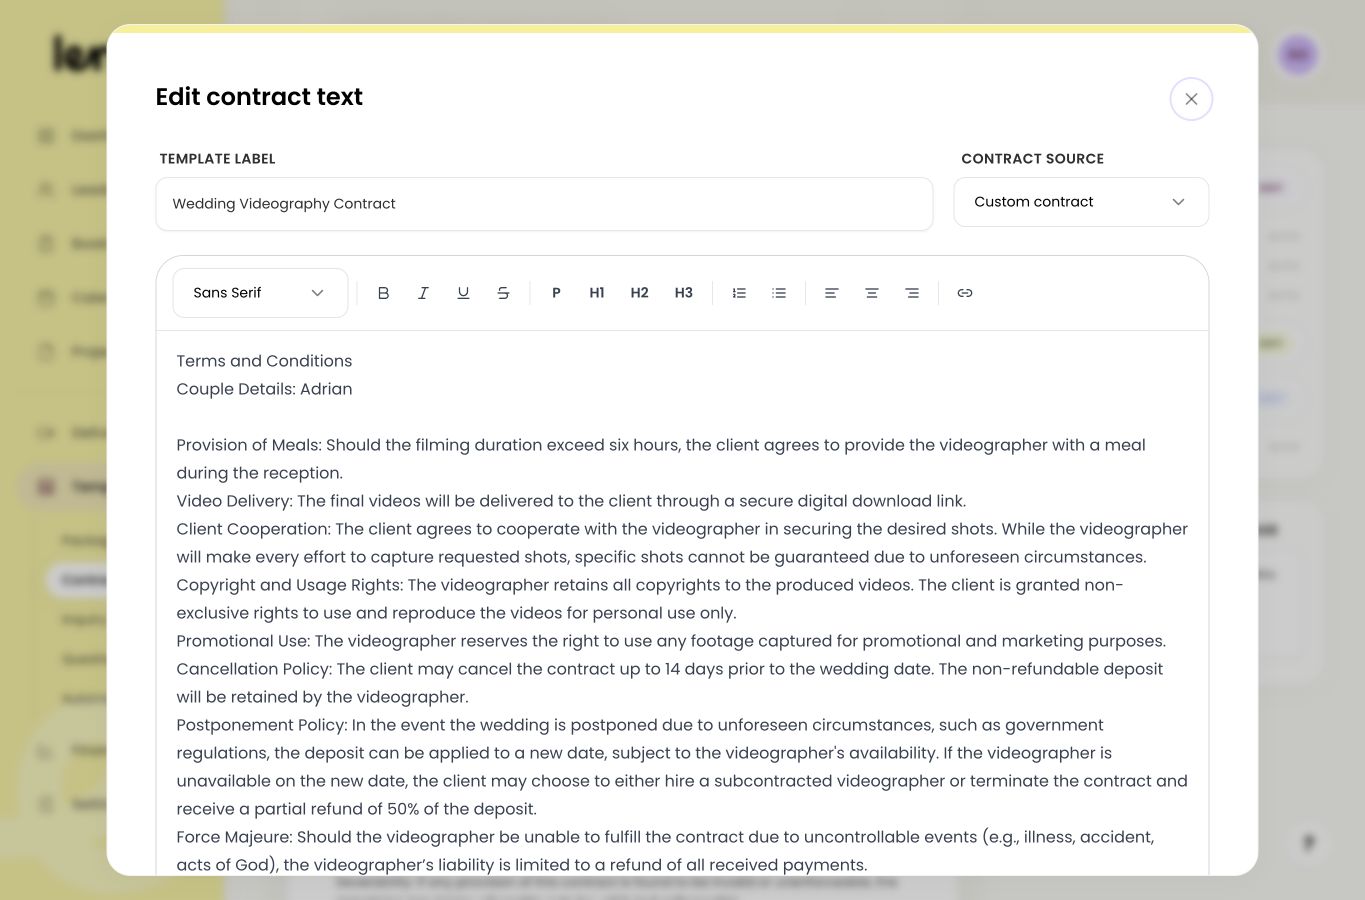
Edit contract text modal
- Lemlii basic contract: a shorter contract you can customize.
- Lemlii detailed contract: a longer contract you can customize.
- Custom contract: your own contract wording.
- 1.
Write the post-signing message
Edit the Post-signing success message in the right panel. This is the confirmation clients see after signing. The field saves automatically when you leave it.
Review the client experience
Review the preview before using the template. The sample details are replaced with the client’s details in a proposal.
- Header artwork and logo
- Couple and wedding details
- Selected package information
- Payment schedule amounts and timing
- Contract wording
- Signature area and post-signing message
Notes
- Changing this template does not rewrite an already signed contract.